
Jo Thornton Boobylicious Tape Instructions and Safety Notes
If you've already bought or are looking to buy my tape, here are some tips to get the best out of it.
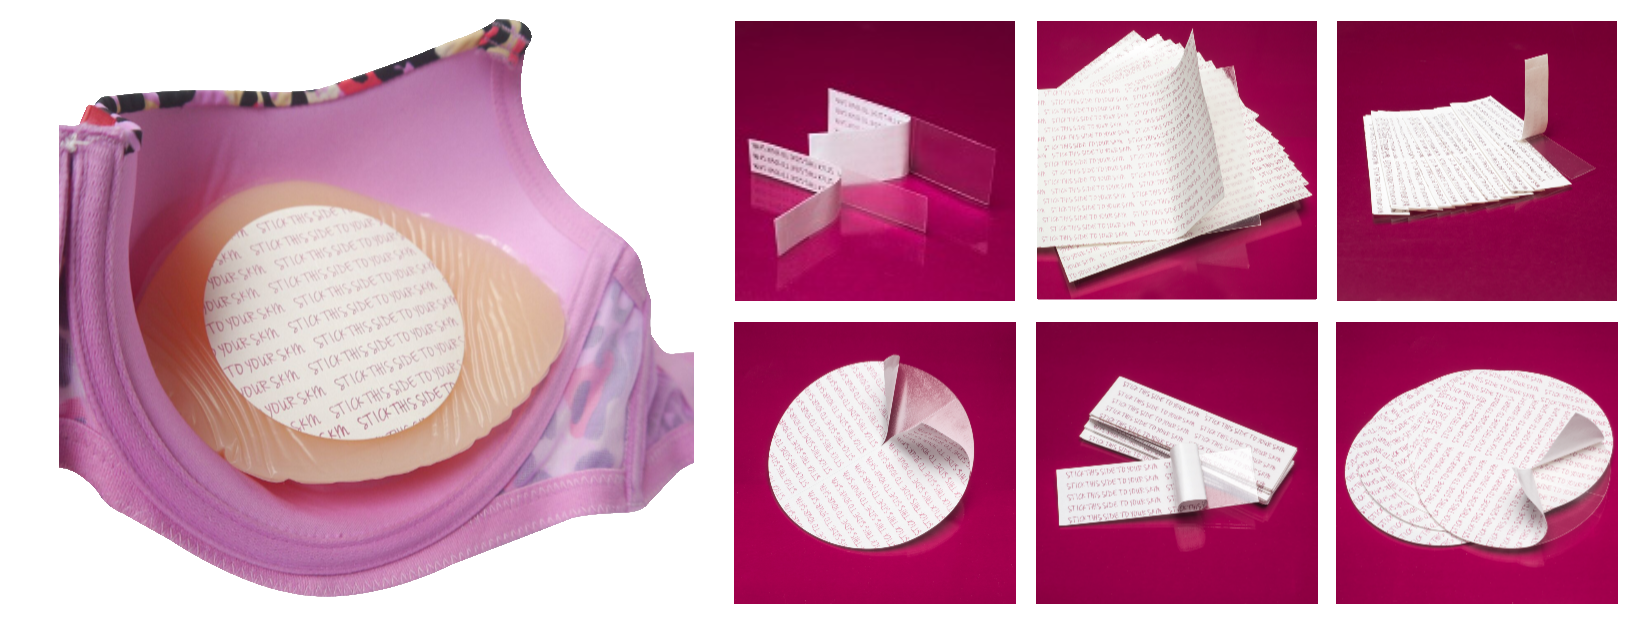
Please note, the tape is very sticky as it has to be. The tape comprises is double-sided with one side wound around in the roll, and then a backing paper that needs to be removed that exposes the other side. It can be difficult to get the backing off for some people, so make sure you follow these tips. Please do get in touch if you get, um, stuck and need some more advice!
Pre- Usage Tests
ALLERGIES PRECAUTIONS:
Please read through all listed materials. Before using the product do an allergy patch test for reactions or sensitivities.
Test procedure for skin:
• Apply a small amount of the skin side of the Boobylicious Tape on the upper part of your inner arm (at the crook of the elbow). Leave the backing on the breast form side.
• Cover it with a bandage.
• Choose a time of day where you can leave the patch test in place for least 24 hours without getting it wet.
• If you are sensitive to any of the materials, a reaction such as reddening, burning, itching, or other irritation should occur within twenty-four hours of application.
• If you don’t see or feel any reaction, the material should be safe to use, but you must check for irritation during use.
• If you notice any adverse effects during the patch test, please remove carefully from your skin, wash in lukewarm water and do not use the product further.
• If you do not have any reactions during the safety test, but notice an adverse effects during full use, please remove carefully from your skin, wash in lukewarm water and do not use the product further.
Test procedure for breast enhancers and breast forms:
This test should only need to be performed once, but if you are still not sure after this test, please repeat.
- Wash your breast forms with water and pat dry, or wipe over with isopropyl alcohol.
• Trim an amount of of Boobylicious Tape from either your discs, strips or sheets, ensuring that you have the split from the backing so that you can easily remove it for the test. An amount around 2cm x 2cm is a good size, or half of one of the strips.
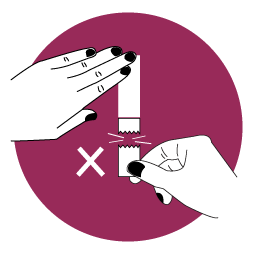
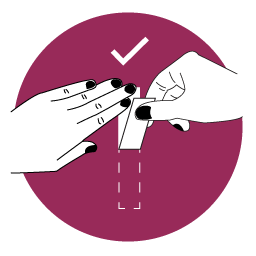
• Remove the backing for the breast form side, smooth the tape on to the breast forms on the back where it is smooth, and immediately remove peeling the tape back on itself. See the usage instructions with the product for images of this. The tape should not be pulled straight up in the air, but instead back on itself to give a clean removal.
• If you have problems removing the tape, you can use nail varnish remover, isopropyl alcohol or an alcohol wipe to try and dissolve the adhesive. The tape will be strongly held to the breast form for a good grip, and this is normal, but if you feel it holds on too strongly or it is too difficult to remove/does not remove cleanly, do not use the tape further and contact me for advice.
• If this test is successful, apply a further small amount to a new area on the forms.
• Remove the tape gently after 30 minutes, by peeling the tape back on itself as before.
• If this test is successful, apply a further small amount to a new area on the forms and remove the tape gently after 4 hours by peeling the tape back on itself.
• If all the tests are successful and you are happy with the removal of the tape from your forms and with the technique for removal, you may use the product. You must follow the usage instructions given with the product for each use. Monitor the product during use, and discontinue and remove the product if you feel it is compromising your breast forms in any way. As breast forms age you may find they are less tolerant to the use of adhesives, so their use must be monitored.
Part 1 - Preparation and sticking

You of course want your tape to stick nicely, so make sure you clean and dry the area that you'd like it to stick to first. I'd recommend spraying on your lovely perfume afterwards, to be sure that it doesn't interfere. If you would like the tape to stick well and you have hair, you will need to shave first; this will also save you from having a painful, free waxing.

Get clean! The cleaner the surface the better the stick, so this is crucial. Ideally wipe your skin and breast enhancers with 99% Isopropyl alcohol to get the ultimate stick. If you don't have any, only use mild soap and water. Do not use baby wipes, as that leaves a residue that the tape can not stick so well to. I am hoping to add alcohol to my store in the future, but for now you can get it all over the place online.

You might find that using a light spray of deodorant to the skin and allowing it to try will help in the summer.
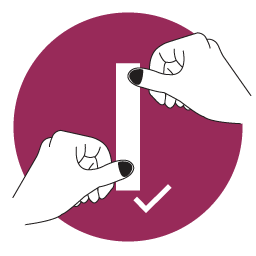
Peel the backing off the clear side and apply to the breast enhancer or breast form. NOW FOR THE MOST IMPORTANT POINT - It sounds obvious, but it's the bit that most of us miss in our rush to get out the door for our night out...make sure that you smooth it down firmly, especially at the corners for the strips and rectangles. You want the backing to come off well and for the tape to stay where you want it, so ensuring that it is well stuck before removing the backing is key.

If you can leave it for a few minutes to fully stick that would be great. Go make yourself a drink, paint your nails or finish that space shuttle you've been designing (no joke, I know you all have it in you).
Part 2 - Getting Dressed To Impress
Put your bra on first, but leave the shoulder straps hanging down. This will make it easy for you to support the breast form or enhancer as soon as you adhere it.
Remove the skin side backings cafefully form the middle split
Line the breast form or breast enhancer to where you want it, and then press it firmly to your skin.
Hold it firmly for as long as you can to give it a good hold, then carefully put your arms in the shoulder straps of your bra, to give them full support.

All done, you are good to go and rock your results!
Part 3 - Removal
Slow and steady is the important key for removal.
Remove the enhancer or breast form carefully and slowly. You will probably find that the tape removes from your skin first and stay on the form or enhancer.
To remove it, start at one end and pick it slowly away so you can get a grip. Pull the strip back on itself not straight up in the air.
You shouldn't have any residue, but you can clean off the breast forms with the isopropyl alcohol now as well to keep them in tip-top condition.
If you have any other questions, just send me a message and I'd be happy to help.
IMPORTANT SAFETY NOTES:
Before using this product you must read and carefully follow all instructions.
This product must be inspected for use to ensure it has not been damaged in shipment. If damaged, do not use and immediately contact Silicone Sally LTD (trading as Jo Thornton) for a replacement.
This product may not be used for unlawful and that use is expressly prohibited under the terms and conditions of its use.
You may not modify the product beyond cutting it to size.
In no event shall Silicone Sally LTD be liable for any direct, indirect, punitive, incidental, special consequential damages whatsoever arising out of or connected with the incorrect use or misuse of its products, as well as accidents or uses not in accordance with the instruction manual.
Silicone Sally LTD is not responsible for any individual to any particular material. People with sensitivities to any listed materials should not use the product. In case you are in doubt or have sensitive skin, always consult your doctor and try an allergy patch test. If at any time irritation occurs, discontinue use of the product.
The product must be carefully removed following all instructions on the product leaflet. Silicone Sally LTD is not responsible for any skin wounds, injuries or reactions or damage to breast forms or breast enhancers that occurred during the removal process.
Not recommended for use directly on nipples on in the genital area.